
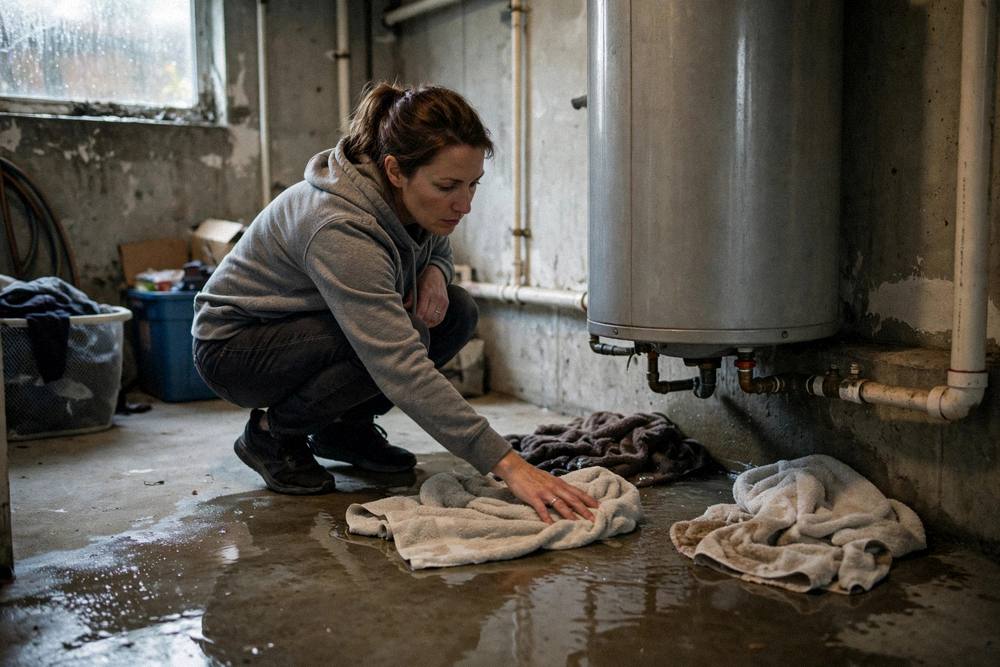
There is water on the floor next to your water heater, and you do not know yet whether it is a drip or the start of a flood. The next 10 minutes matter more than you think. In most cases you can stop the damage yourself in a few minutes, before anyone shows up. Leaking water heater what to do first: shut off the power or gas, close the cold water valve on top of the tank, contain the water, and find where it is coming from. A leak from a fitting or a valve is usually a repair. A leak from the tank body itself means the tank needs to be replaced. This guide walks through the first 10 minutes step by step, in the order a plumber would do them.
Minute 0 to 2: Is It Really the Water Heater?
If you smell gas, a rotten egg odor, at any point, skip all of this. Leave the house and call 911 or your gas utility from outside. Do not flip any switches, do not unplug anything, and do not use a phone inside. Do not go back in until they say it is safe.
Otherwise, before you shut anything off, take 30 seconds and look around. In most homes the water heater sits right next to the furnace, and plenty of so called water heater leaks turn out to be something else. Check these first.
The furnace condensate line or condensate pump on a high efficiency furnace can drip water on the floor. A humidifier drain line on the side of the furnace ductwork can leak. Cold water pipes can sweat in a humid room, and a brand new tank can sweat during its first heat up as the cold steel meets warm room air. Condensation is water, but it is not a leak, and it stops on its own once the tank warms up.
Wipe the floor dry, lay a few paper towels in a ring around the base of the tank, and watch where the wet spot comes back first. Run a dry paper towel up the side of the tank and over every pipe joint above it. Water travels down the outside of the tank, so a drip that pools at the bottom often starts at a fitting on top. Where the paper towel gets wet first tells you where the water starts.
If the paper towels stay dry and the floor stays dry, it may have been condensation. Watch it for an hour. If the wet spot comes back, it is a leak, and the next steps apply.
Minute 2 to 4: Shut Off the Water
Find the cold water line coming into the top of the heater. It usually has a shutoff valve within a foot or two of the tank. There are two kinds. A lever handle turns a quarter turn so it sits crosswise to the pipe. A round wheel handle turns clockwise until it stops. Do not force an old wheel handle. If it will not move, leave it and shut off the main water to the house instead.
Closing the cold water valve stops new water from feeding the leak. The tank still holds 40 or 50 gallons, so water already in the tank can still leak out, but nothing new comes in. That alone limits the damage.
Next, open a hot water faucet somewhere in the house. That releases pressure in the tank, which by itself stops most leaks at the top fittings and the relief valve. Leave the faucet open until the plumber arrives.
If there is no valve on the cold line, or it will not close, shut off the main water to the house. The main shutoff is usually near where the water line enters the house, often in the garage, the utility room, or a closet near the front door. Turn it clockwise until it stops.
Minute 4 to 5: Turn Off the Power or Gas
This step matters more than people think. If an electric tank loses water with the power on, the heating elements can burn out almost immediately, because they are built to heat water, not air. If a gas tank keeps firing with low water, it overheats. Turn off the fuel before you do anything else with the tank.
For an electric water heater, switch off its breaker in the electrical panel. It is usually a double pole breaker labelled for the water heater. Do not touch the tank if you are standing in water. Shut the breaker first, then step in.
For a gas water heater, turn the knob on the gas control to off. That is the only gas control you need to touch. Leave the valve on the gas supply line alone. For a power vent gas water heater, turn the gas control to off, then unplug it.
If you smell gas at any point, stop here. Do not touch any switches or valves. Leave the house and call 911 or your gas utility from outside.
Minute 5 to 8: Find Where It Is Leaking
Now that the water and the fuel are off, find the source. Dry the tank and the floor with towels, then watch. Water travels, so where it pools is often not where it starts. Check each spot in turn.
| Where the water is | What it usually means | Repairable? |
|---|---|---|
| Top fittings, inlet or outlet pipes | Loose connection, failed fitting | Yes, tighten or replace the fitting |
| Temperature and pressure relief valve or its discharge pipe | Thermal expansion, high pressure, or a bad valve | Yes, but find the cause first, never cap it |
| Drain valve at the bottom | Worn valve washer, loose valve | Yes, replace the valve |
| Bottom of the tank, water under the base | Internal corrosion, steel rusted through | No, the tank needs replacing |
| Side of the tank, water running down the jacket | Condensation, or a leak from a fitting above | Check the top first, then the tank |
| Water under the tank but the tank is dry | Leak somewhere else, furnace condensate, a nearby pipe | Look at the furnace and the pipes |
A drip at a fitting is the best news. A loose connection can be tightened, and a failed fitting can be replaced in under an hour. A drain valve that drips can be replaced the same way.
A relief valve that drips is different. The relief valve opens at 150 psi or 210 degrees Fahrenheit to vent pressure, and it is doing its job when it discharges. The cause is usually thermal expansion in a closed system with no expansion tank, or a thermostat that is heating the water too hot. Never cap, plug, or restrict a relief valve or its discharge pipe. That valve is the one safety device standing between a tank and a rupture. A plumber needs to find out why it is opening.
Water from the tank body itself is the worst news. Once the steel inside rusts through, it cannot be patched. That tank needs to be replaced. Our leaking water heater in Nampa page covers the signs that say a tank is done.
Minute 8 to 10: Contain the Water and Take Notes
By now the water and the fuel are off and you know where the leak is coming from. The last two minutes are about limiting damage and recording what happened.
Move stored items away from the tank. Boxes, tools, and anything that sits on the floor near the heater should go somewhere dry. Lay towels around the base to soak up what is there, or use a wet vac if you have one. If the leak is steady and the tank is still full, you can drain the tank through the drain valve with a garden hose to a floor drain or outside. The water is hot, so let it cool first if you can, and open a hot tap somewhere in the house to let air in so it drains. Do not drain a tank you cannot see clearly, and do not work in standing water.
Take notes and photos. Photograph the leak, the water on the floor, and the label on the side of the tank, which shows the brand, model, and serial number. Note the time you found the leak and what you shut off. Those photos and notes help the plumber and the insurance claim. The Insurance Information Institute puts the average water damage claim at about 15,400 dollars, and one in 60 insured homes files one each year, so a clear record matters.
Then call a plumber. Tell them where the water is coming from, how old the heater is, and whether you shut off the water and the fuel. That tells the plumber what to bring and how fast to come.
> Never cap, plug, or restrict a temperature and pressure relief valve or its discharge pipe. The valve opens at 150 psi or 210 degrees Fahrenheit to vent pressure. If it is discharging, something is wrong with the pressure or the temperature, and a plumber needs to find out why.
After the First 10 Minutes: Repair or Replace?
Once the water is stopped and the plumber is on the way, the question is whether the heater can be fixed or needs to be replaced. The source of the leak decides it.
A drip at a fitting, a drain valve, or a relief valve is usually a repair. A fitting can be tightened or replaced, a drain valve can be swapped, and a relief valve can be replaced once the cause is found. Those repairs run inside the typical repair range of 150 to 750 dollars nationally, averaging about 450 dollars (Fixr, updated August 29, 2025). A relief valve replacement runs 50 to 300 dollars nationally (HomeGuide, 2026). Those are national ranges, not Nampa prices.
A leak from the tank body itself is a replacement. The steel has rusted through from the inside, and no repair can reverse that. A tank replacement runs 600 to 3,100 dollars installed nationally, and a tankless replacement runs 1,400 to 5,600 dollars installed (HomeGuide, January 2026). A tank swap takes 3 to 5 hours, and a tankless install takes half a day.
Age tips the decision. A 4 year old tank with a leaking drain valve gets a new valve. A 12 year old tank with a leaking drain valve gets a hard look, because the valve is rarely the only part wearing out. Our blog on water heater replacement warning signs covers the seven signs that say a tank is done, and our water heater repair cost in Nampa page lists repair costs by job.
A Nampa Note: Leaks in Winter
Water heater leaks cluster in winter, and Nampa winters give them plenty of chances. NOAA 1991 to 2020 normals show 132 nights a year at or below freezing, with a January average low of 23 degrees Fahrenheit. A tank that limps through summer often gives up in January, when the incoming water is near freezing and the heater works its hardest.
Cold snaps also freeze pipes, and a frozen pipe can crack a fitting or burst when it thaws, which looks like a water heater leak but starts somewhere else. If you find water on the floor on a freezing morning and the tank looks dry, check the pipes first. A frozen pipe is a different fix from a failed tank, and it needs a plumber just as fast.
Nampa homes are mixed in age. The median home was built in 2000, and about 26 percent date from before 1980. Downtown Nampa has the oldest stock, homes from the 1940s to the 1960s with galvanized pipe and tanks on their second or third replacement. Those tanks are the ones most likely to leak from the body itself, because the steel has had decades to rust.
Questions About a Leaking Water Heater
Leaking water heater what to do first?
Shut off the power or gas first, then close the cold water supply valve on top of the tank. Contain the water with towels, move valuables away, and take photos. Then find where the water is coming from: a fitting, a valve, or the tank body. A leak from a fitting or a valve is usually a repair. A leak from the tank body means replacement.
Is a leaking water heater an emergency?
It depends on how much water is coming out. Water pouring from the tank or a burst line is an emergency: shut off the cold water valve and call right away. A slow drip you can catch in a bucket is not an emergency, but it does mean the tank is failing and should be replaced soon. If you smell gas, leave the house and call your gas utility or 911 from outside.
Can a leaking water heater be fixed?
It depends where the water comes from. A drip at a fitting, a drain valve, or a relief valve can usually be fixed. A leak from the tank body itself cannot be fixed for the long term, because the steel has rusted through. That tank needs to be replaced. Our blog on no hot water at night explains what counts as an emergency and what can wait until morning.
How much does it cost to fix a leaking water heater?
A typical repair runs 150 to 750 dollars nationally, averaging about 450 dollars (Fixr, updated August 29, 2025). A relief valve replacement runs 50 to 300 dollars (HomeGuide, 2026). A tank replacement runs 600 to 3,100 dollars installed (HomeGuide, January 2026). Those are national ranges, not Nampa prices. The source of the leak decides which one applies.
Call Nampa HeatPros When Water Shows Up
Water on the floor next to your heater is a today problem. Call Nampa HeatPros, tell us where the water is coming from and how old the heater is, and we will find the source, give you an upfront written price, and fix it or replace it the same day where we can. Water heaters are all we do.
Our Service Area
We serve Nampa and the towns around it. Pick your area to see water heater repair there.